Fabric Ticketing
Introduction
Rackspace Technology uses a new ticketing application as part of its Fabric branding. The ticketing application follows ITSM and ITIL change management standards by allowing customers to designate a category for the ticket.
Intended Audience for Docs
This documentation is intended for assisting customers with the new Fabric Ticketing Application. It describes the user experience to assist with common tasks related to this portal.
Access to Fabric Ticketing Application
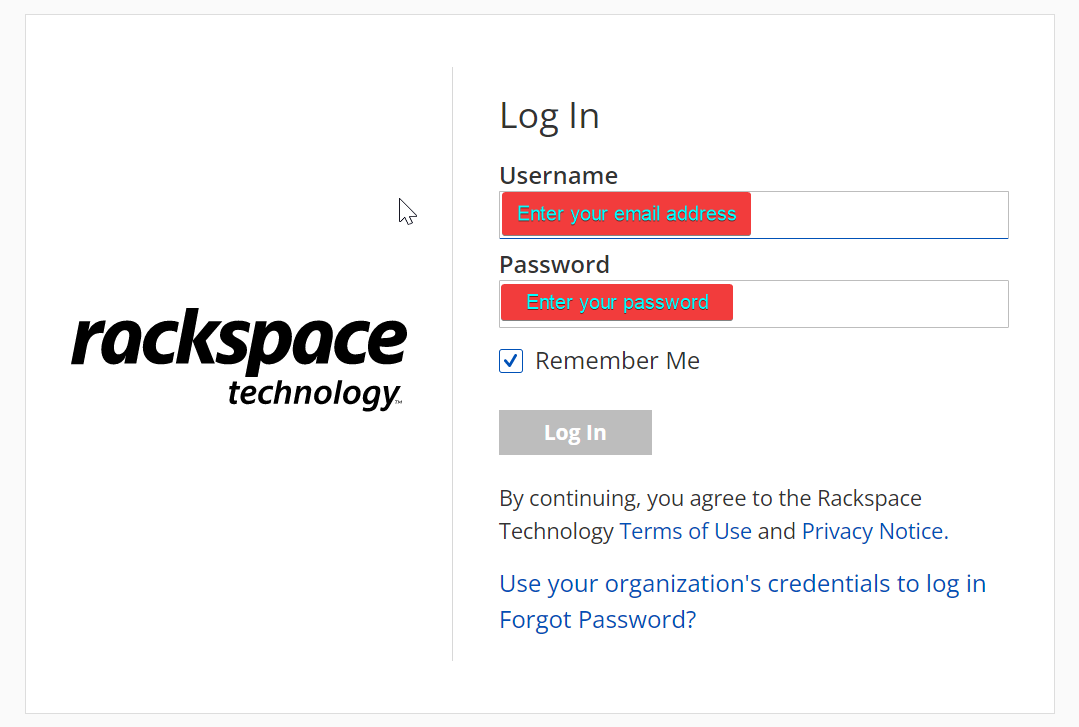
You can access the ticketing application by entering login credentials. This page can be reached from any of the current customer portal URLs as listed below.
Enter your username and password to login into the portal.
Global Dashboard Overview
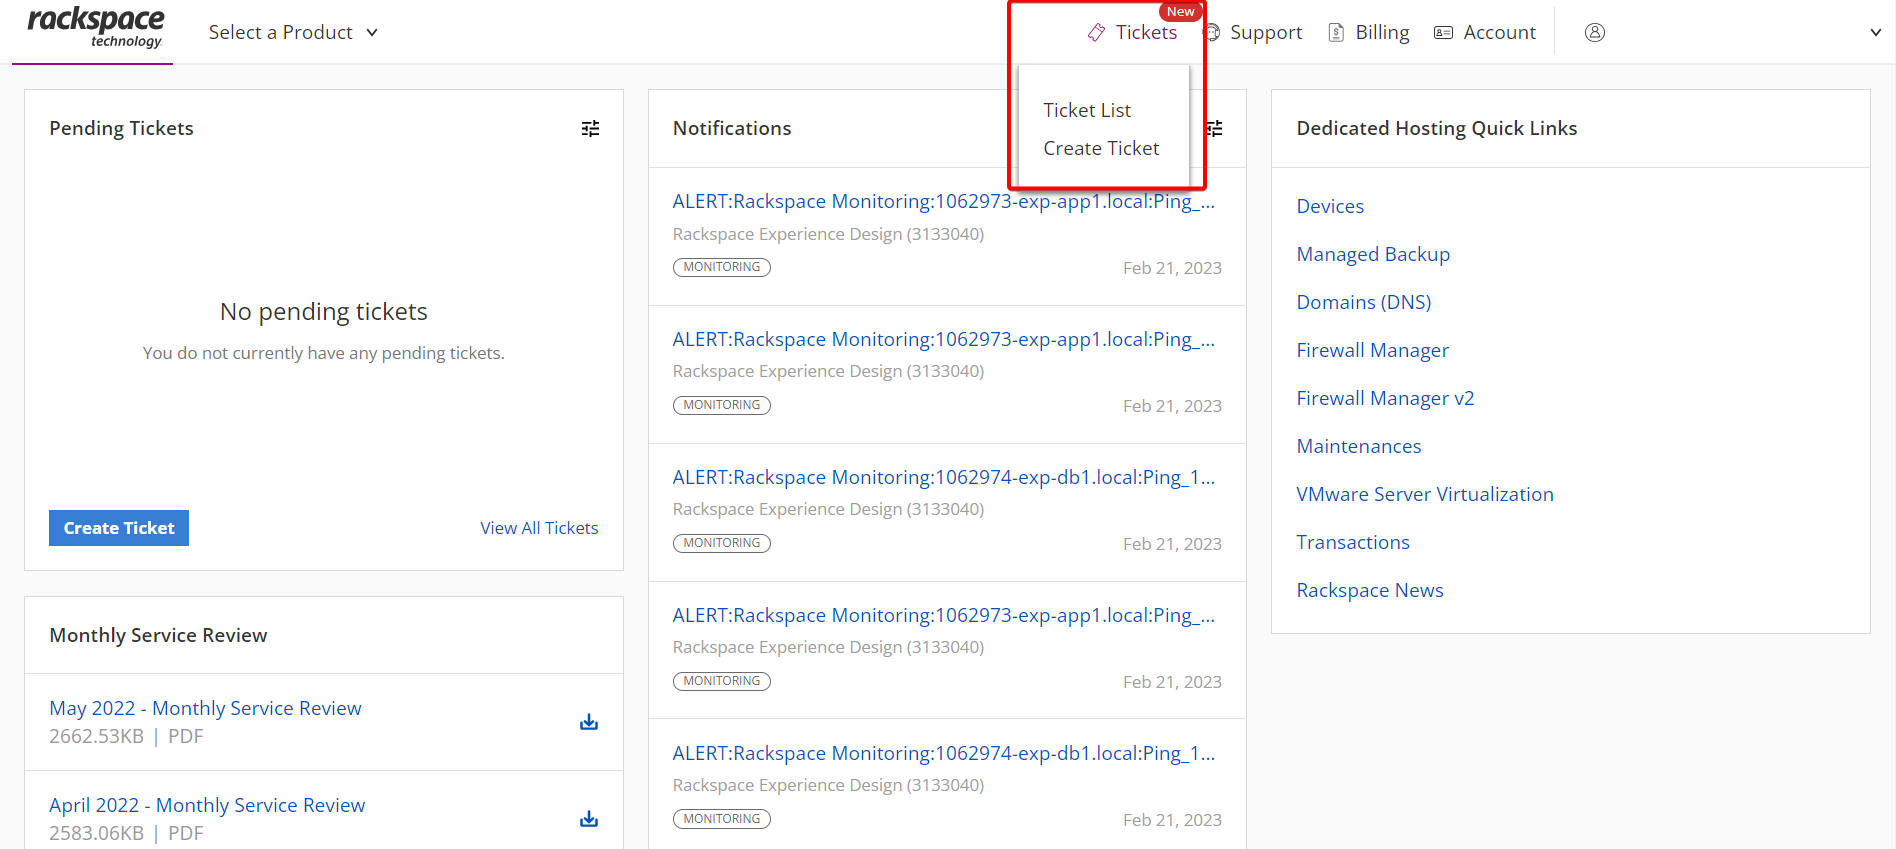
The ticket navigation option will take you to the new ticketing application as shown in the above image.
The global dashboard view has tabs as listed below:
- Tickets
- Support
- Billing
- Account
Tickets
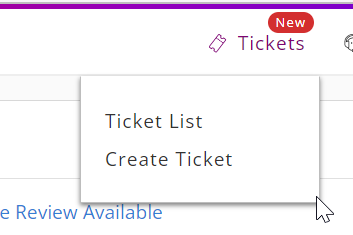
The user must be granted ticketing permissions for the ticket navigation items to be allowed.
Application Overview
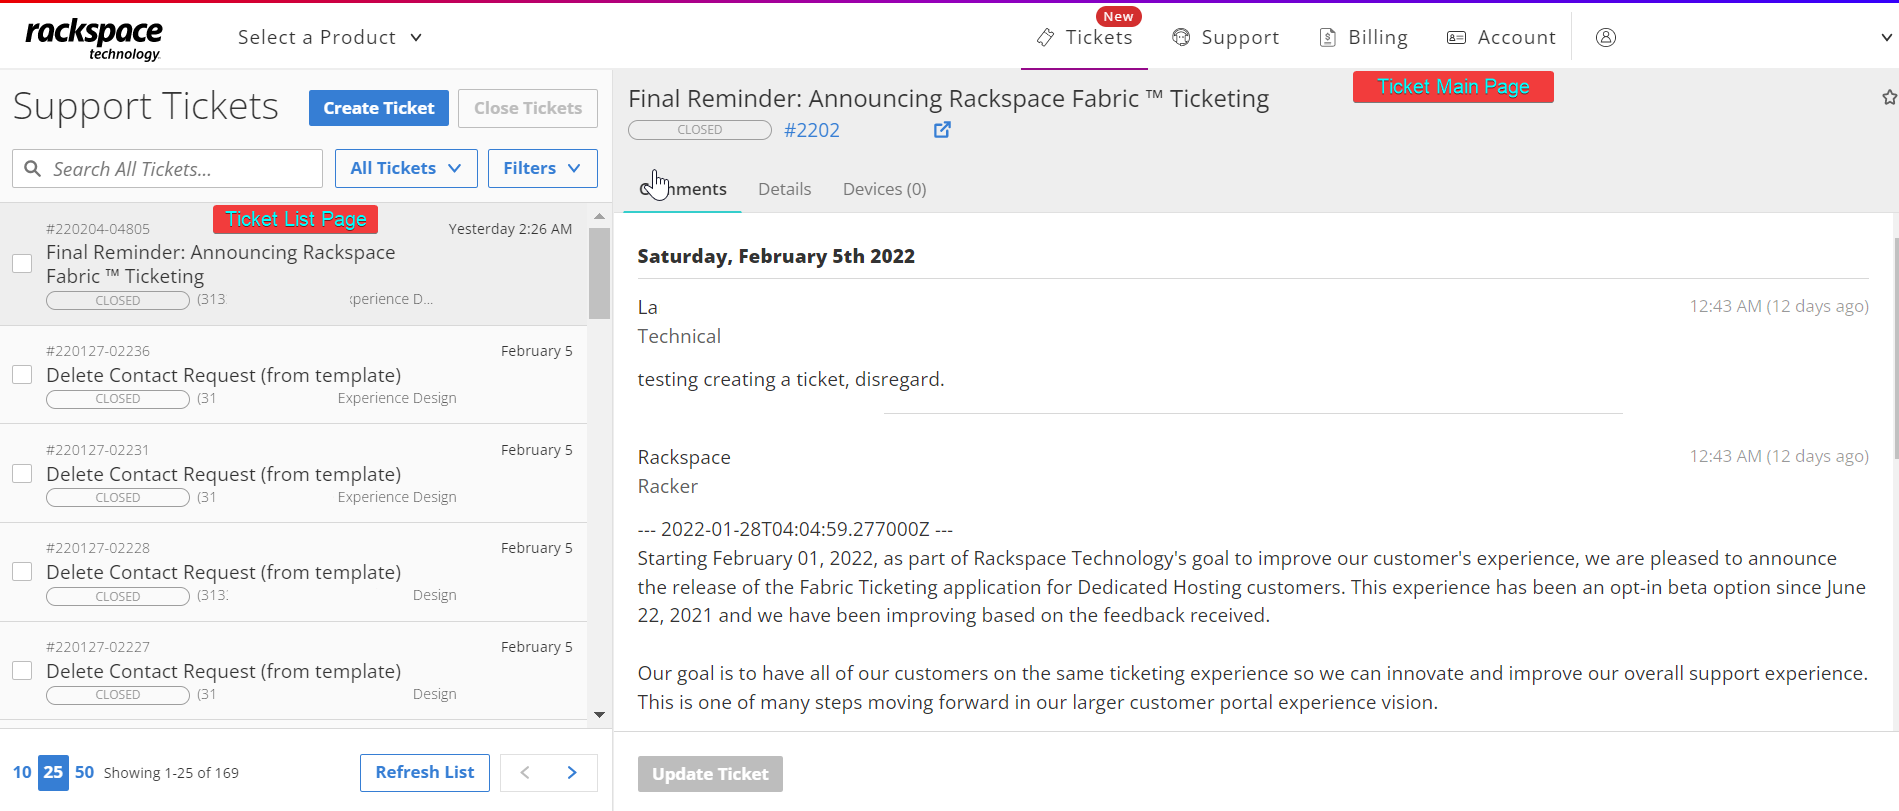
Ticket List Page: Displays the list of tickets created. The list displays either the most recently created ticket or last modified ticket at the top.
Left Side Ticket Panel:
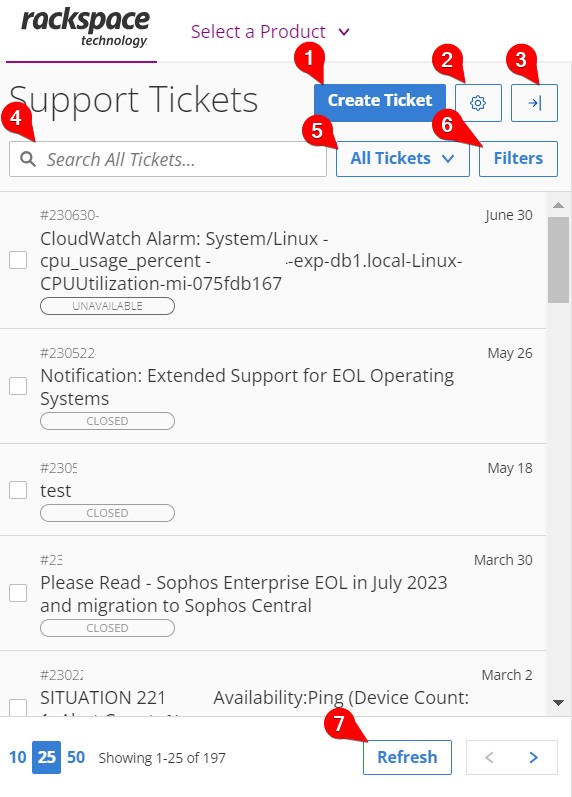
- Create Ticket: User can create new ticket using this option. Details of how new ticket is created is detailed in upcoming sections.
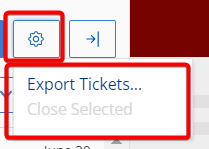
- Action: User can Export Tickets or Close Selected tickets using this option.
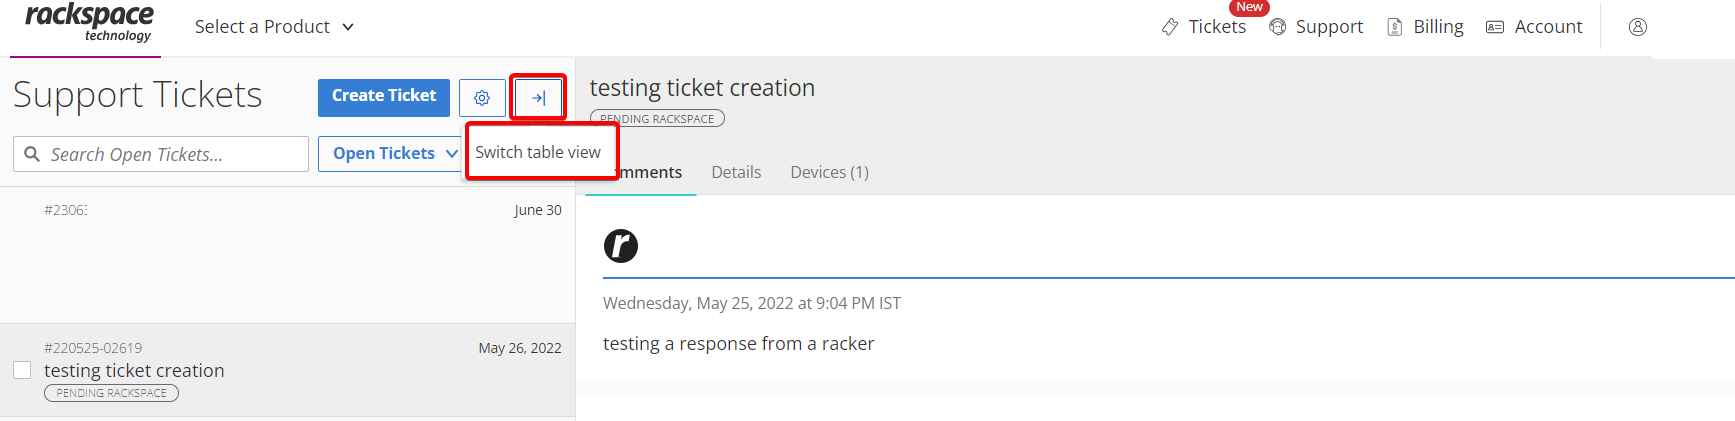
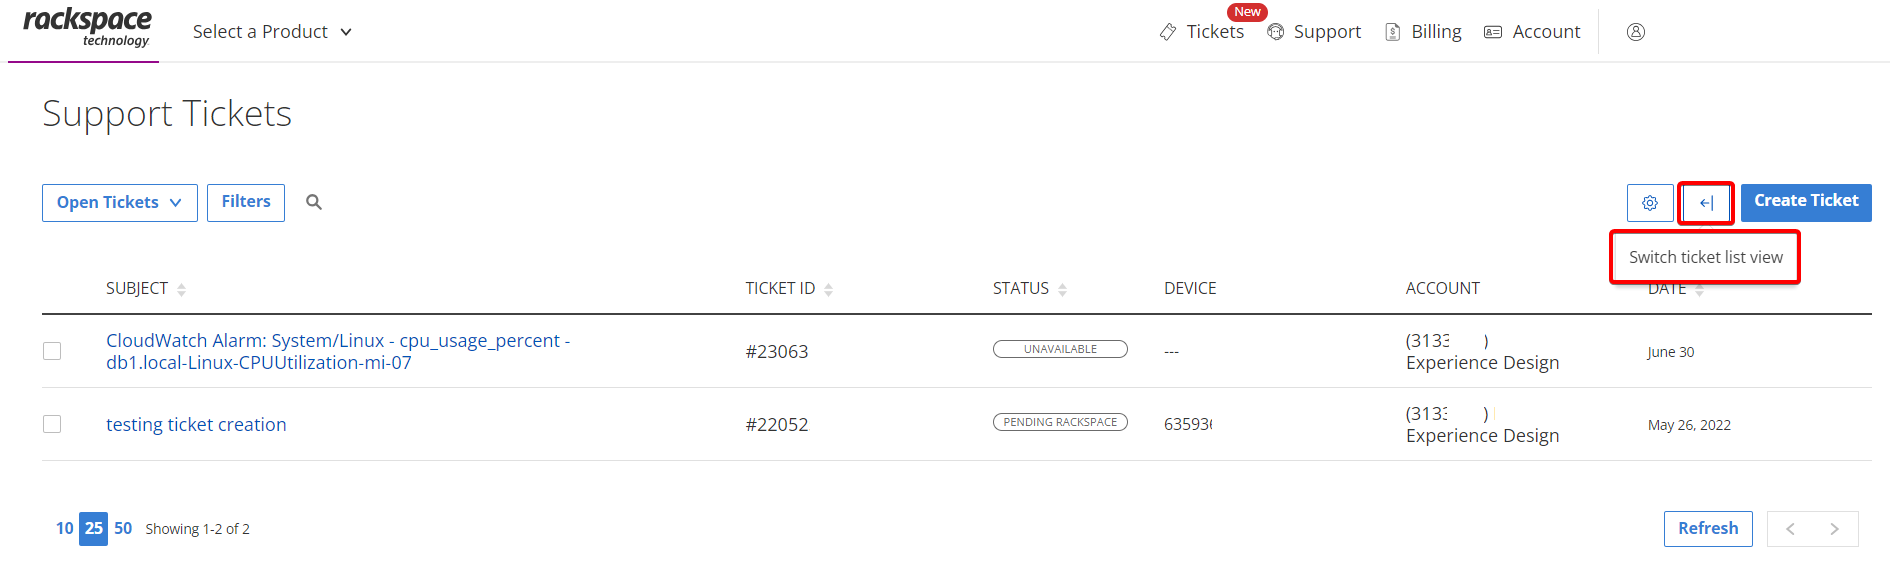
- Switch View: The user has two options for changing the ticket layout: switching between table view and switching between ticket list view.
- Search: User can utilize the field to search by Ticket ID, Subject, and for text used in comments.
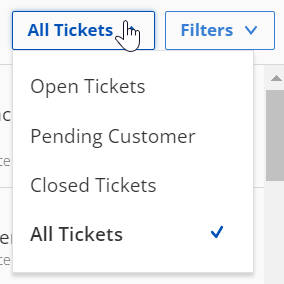
- Status Drop-down: Allows a user to narrow down the list results by ticket status of Open Tickets, Pending Customer, Closed Tickets, and All Tickets.
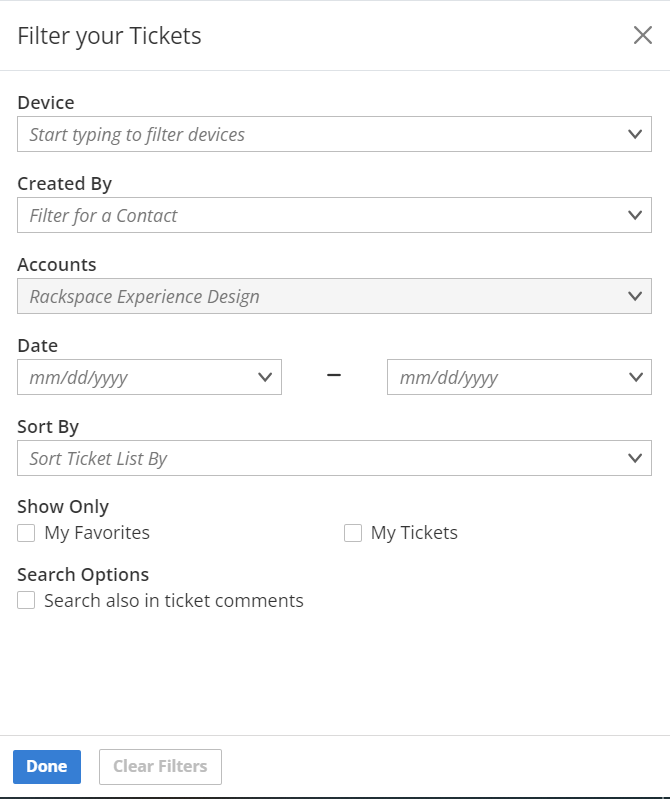
- Filter: This filter option can filter your tickets using options such as Device, Created By, Accounts, Date Range, Sort By, Show Only and Search Options.
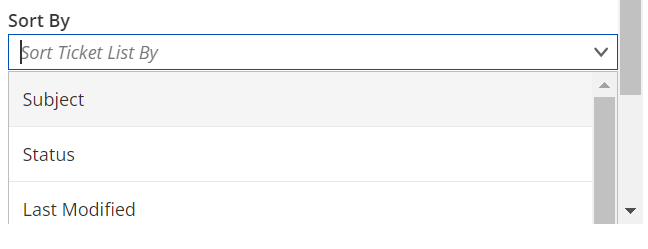
Sort By: User can sort the ticket list by Subject, Status and Last Modified.

Show Only: User can sort the ticket list by using My Favorites or My Tickets.
- Refresh List: When you click on Refresh List option, the most recently created ticket appears on the top of the ticket list.
Export Tickets
Make sure ticket list item checkboxes are not selected. The Export Tickets feature does not support exporting individual tickets based on the ticket item checkboxes. The option will be disabled if any checkboxes are selected.
To Export Tickets do the following:
- Select Actions > Export Tickets.
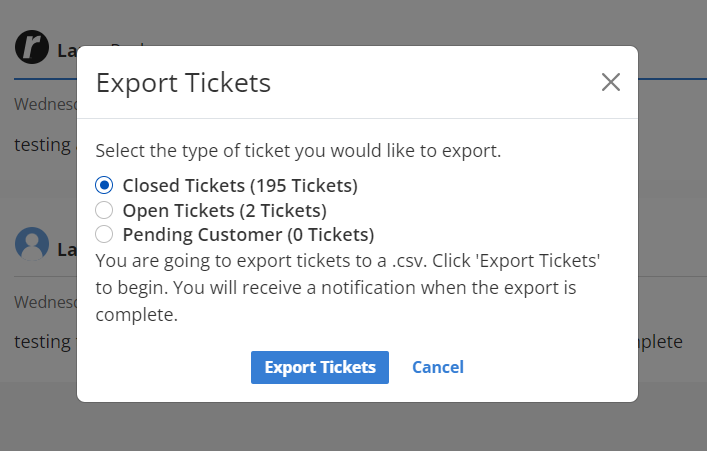
- Select to export either Closed Tickets, Open Tickets, or Pending Customer Tickets.
- Select the Export Tickets button.
- A CSV file will download in the browser.
Currently it is only possible to export a maximum of 5,000 tickets for each option.
Right Side Ticket Panel:
Selected Ticket Panel: Displays the details of the selected ticket. This loads the first ticket list item by default.

You can load your ticket in a new browser tab by selecting the ticket ID from the header of the right ticketing panel as shown in above image.
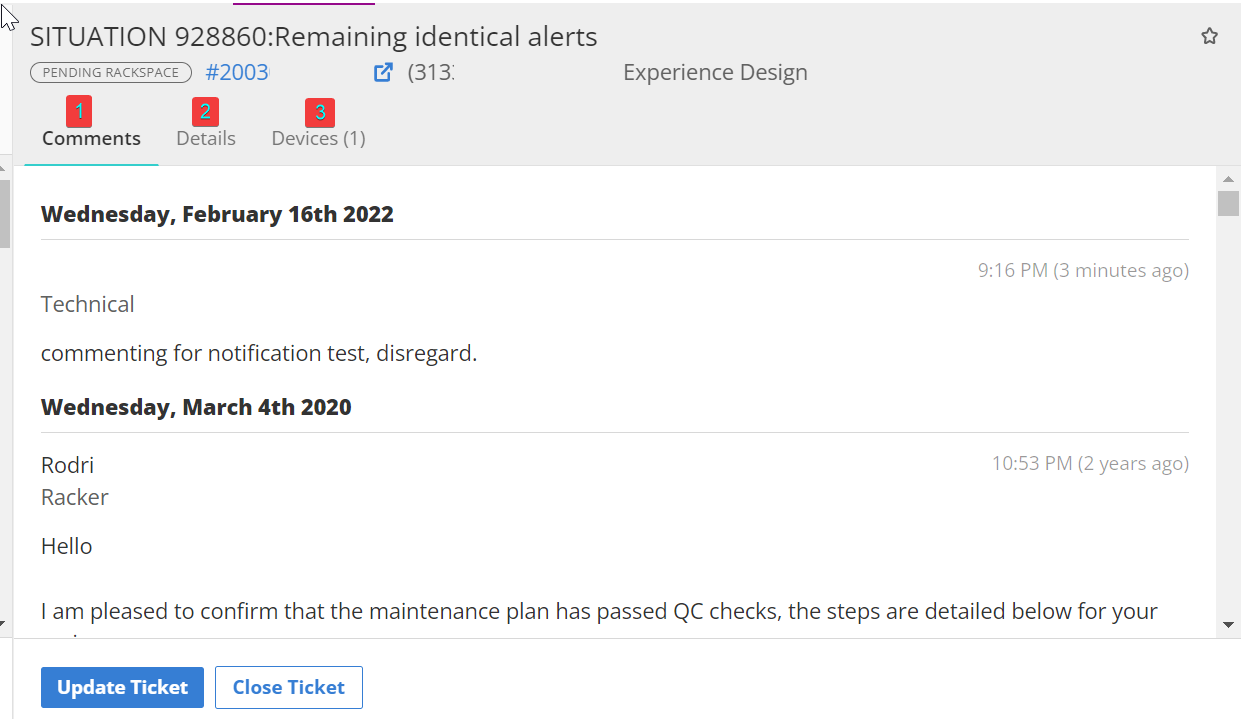
The right-side ticket panel displays the details of the selected ticket. The details of the ticket are divided into three tabs such as:
- Comments: Comment option displays all comments for the selected ticket.
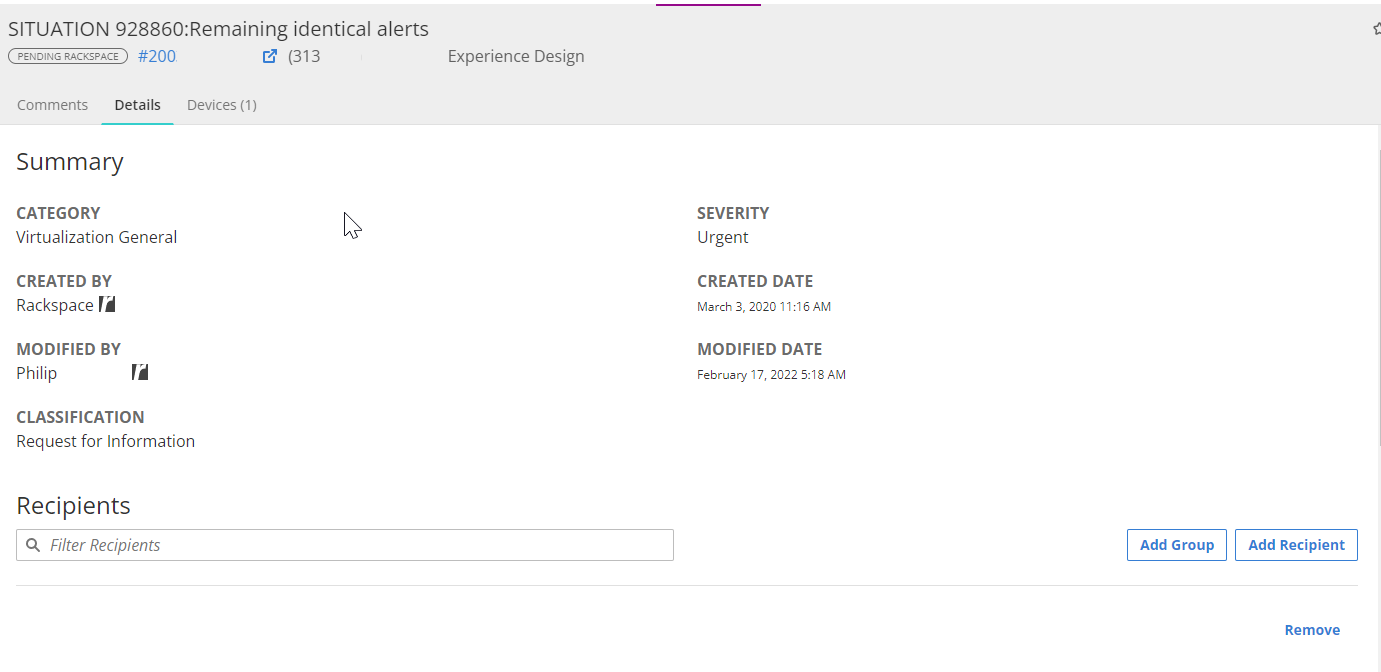
- Details: You can view the details of the tickets in terms of the category, created by, modified by, severity, created date, recipients and so forth.
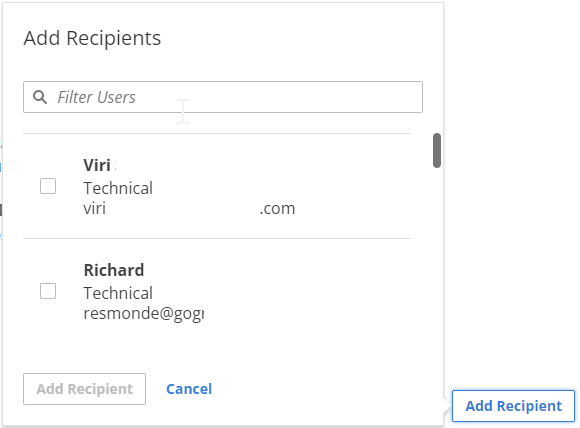
You can Add Recipient to the ticket as shown in the above image. The added recipients will get notifications about the ticket once added. The Add Recipient popover will hide contacts that have ticket notification settings disabled on an account.

You can Add Groups to the ticket as shown in the above image. The added groups will get notifications about the ticket.
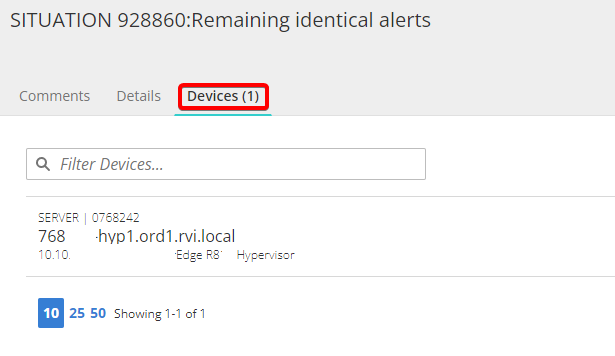
- Devices: You can view the device list. This option is only applicable for dedicated customer tickets at this current time.
How To Create a Ticket
The create ticket page is different as compared to the previous MyRack ticketing application that dedicated customers are familiar with. The Ticketing Application automatically determines which queue or team a ticket will be sent to. This is calculated based on the user’s selection of the category, account type, product/service, and device(s). Most of the selections are within Account & Product.
Select a Category from drop-down list that best describes the issue you are submitting.
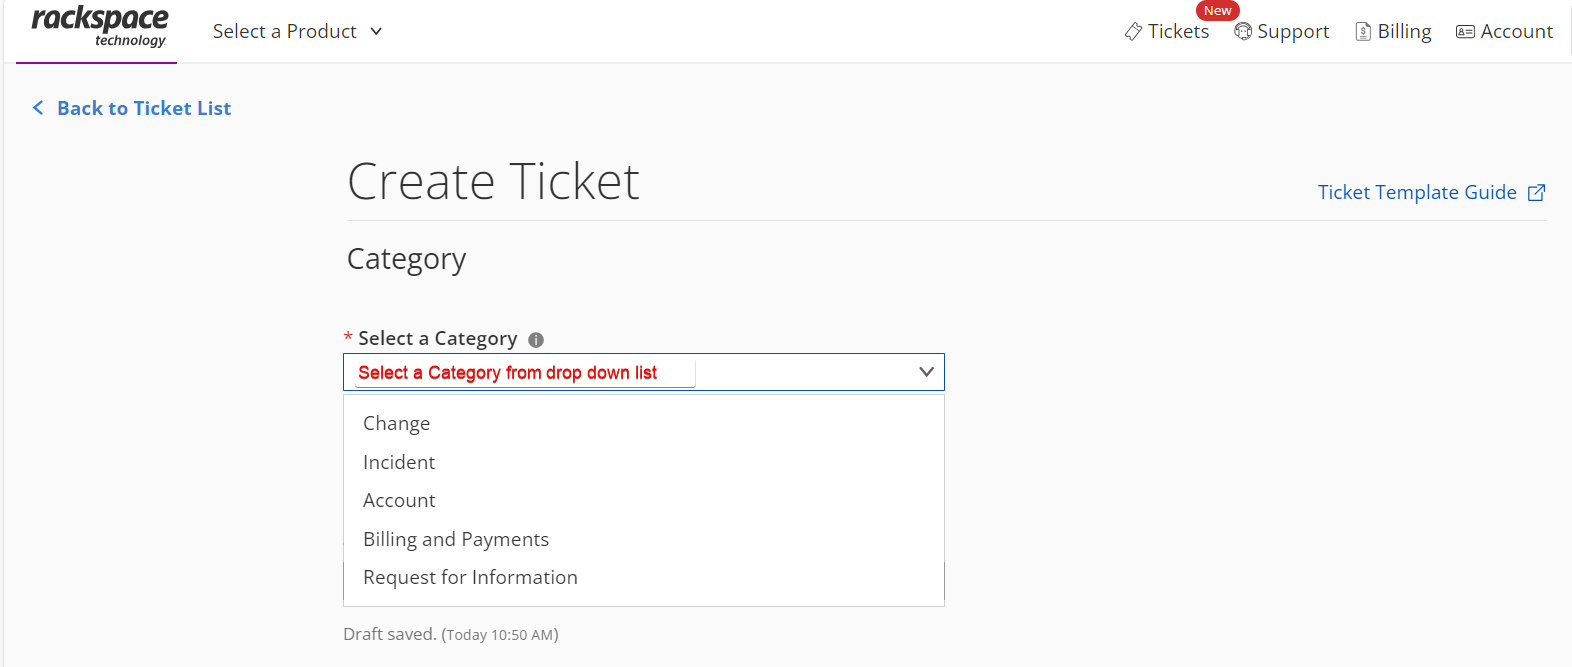
You must choose the required category from the pre-defined ITIL/ITSM management options. Below is the list of categories:
-
Change: Add, remove, or modify infrastructure or services. This includes maintenance or upgrades. E.g.: Firewall upgrades, add patching, create a load balancer.
-
Incident: An unplanned interruption or reduction in service quality. E.g.: Down server, Server offline or not responding, network or service degradation.
-
Manage Account: Issues related to account access, account settings, contact information or user management.
E.g.: Add user to group, edit email, edit permission of user. -
Billing and Payments: Questions or concerns about an invoice, making a payment, or charges. E.g.: Payment failure, promo code error, unknown charge.
-
Request for Information: Any issues or questions not covered by the other category or a general support request. E.g.: New service offering questions, costs related to adding services.
Select required product/services from the drop-down list.
-
If you only have access to one account, then that account will auto populate. The input will also be disabled since no other options exist for selection.
-
If you only have access to one product, then that product will auto populate. If you have access to multiple products, then select the product that best relates to your request from the options in the drop-down list
-
The application only allows for dedicated devices to be added to a ticket. Adding multi-cloud devices is not allowed at this current time.
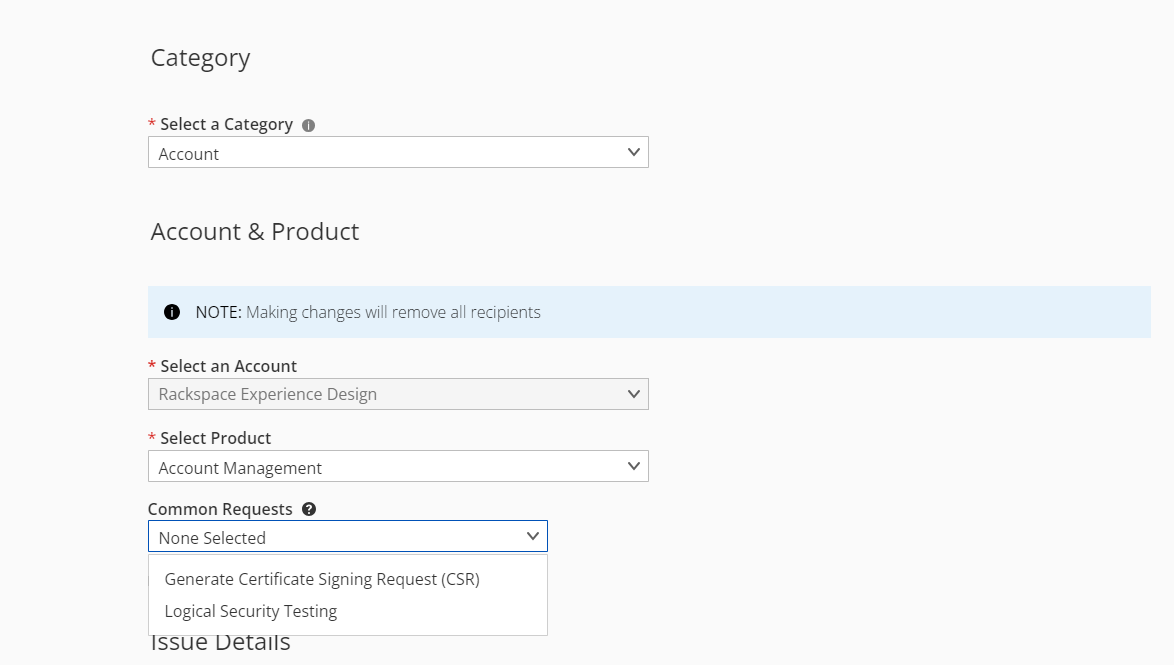
- This option drop-down depends on the previous selections you have made. Only the list of options that relate to your previous device, product, and account selections will display. Leave this field with the "None Selected" value in order to create a Custom Ticket or choose one of the template options to create a ticket based on common change requests. Visit our Common request templates article for more information about accessing each template.
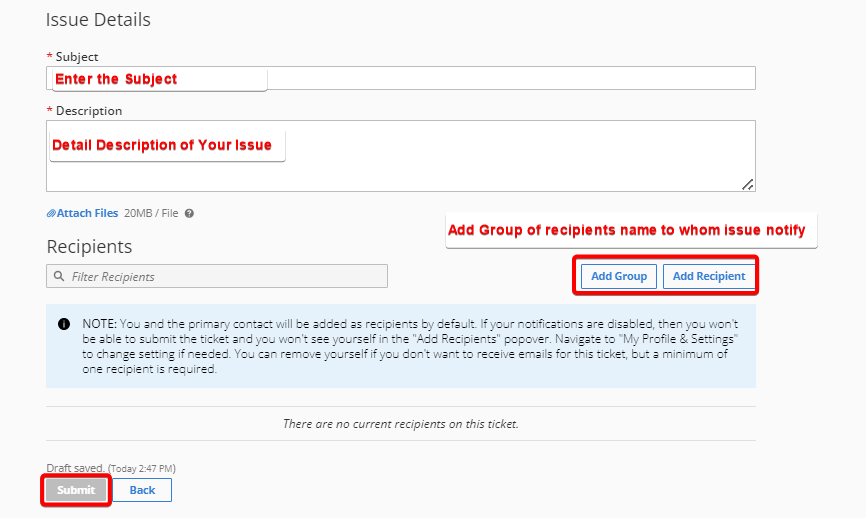
You fill in details of subject, description, and recipient(s). Optionally you can upload attachments up to 20MB per file. After clicking the Submit button, the draft will be cleared, and a new ticket will be available at the top of the ticket list.
Updated 1 day ago